Cleanses / Device Guide
Laxmi Zapper Pulser Device Guide
How to connect the wires, start the Zapper, and step through all seven modes with the Red and Green buttons, plus connecting the optional footplates and electrode pads.
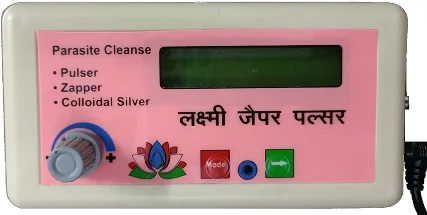
Table of Contents
Laxmi Zapper Pulser
Note
The Laxmi Zapper Pulser is intended for use by a single individual at a time.
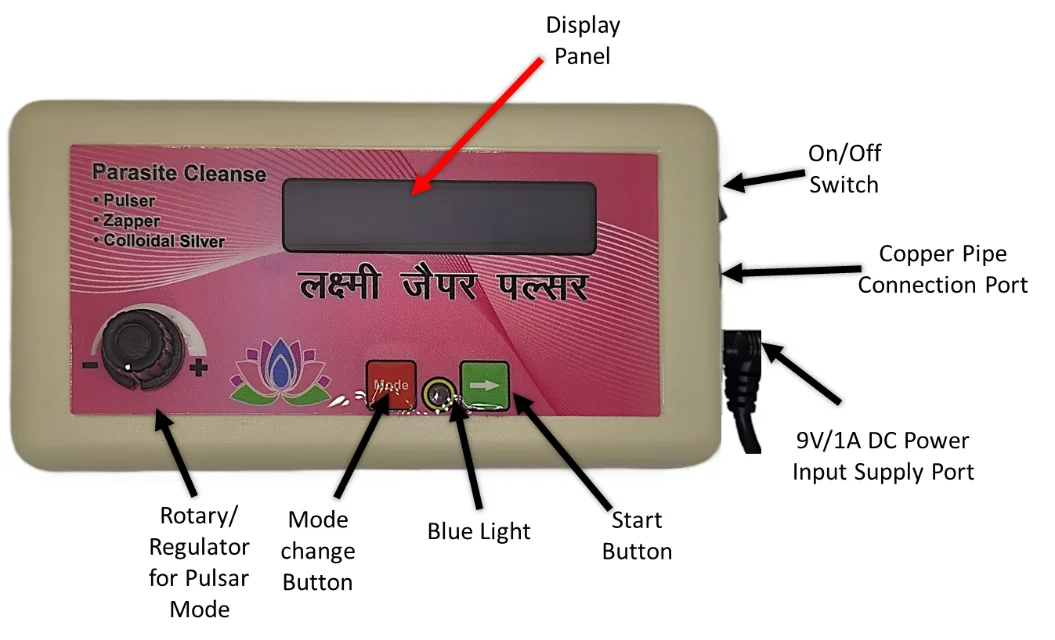
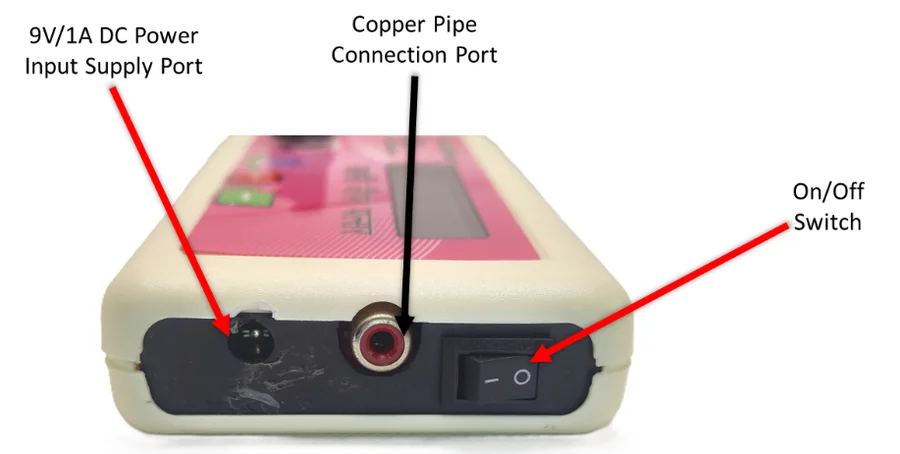
What You Connect
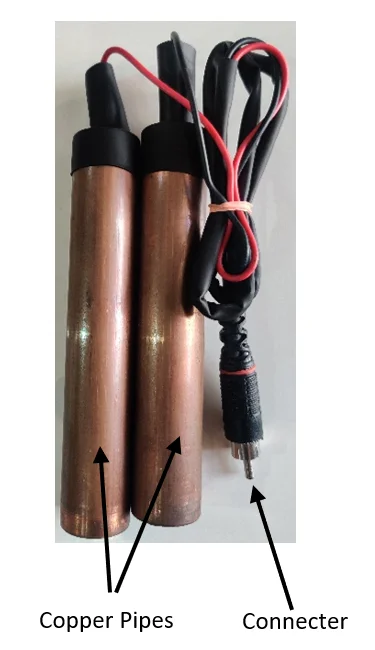
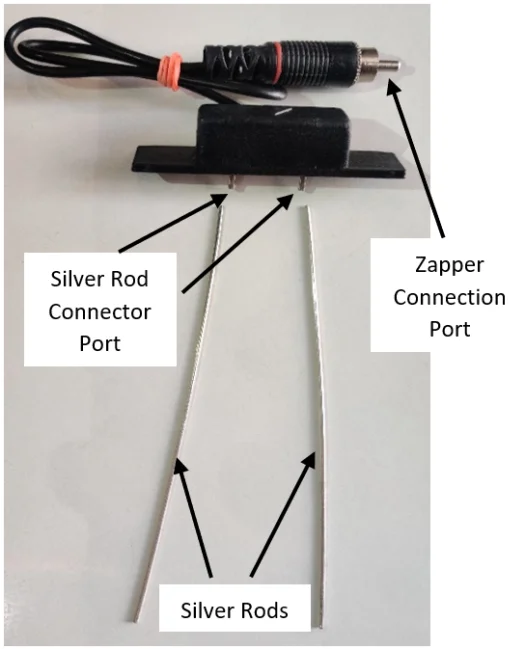
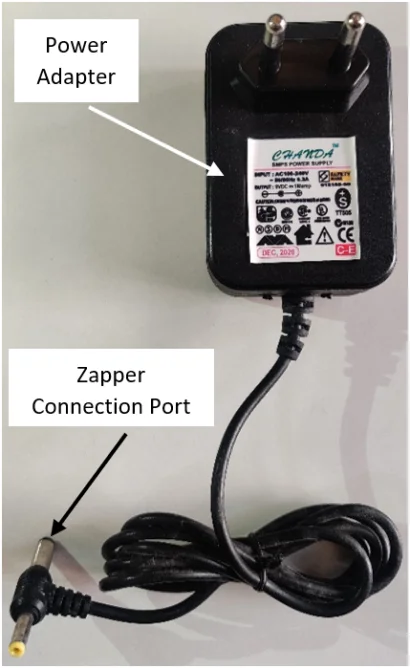
Connecting Wires and Starting the Zapper
- Make sure Zapper is powered OFF.
- Connect the copper pipe's connector to the Zapper's Copper Pipe Connection Port. This single port is also used for:
- The Male connector of the Footplate’s “Y” Cable. (if purchased)
- The Male connector of the Carbon Electrode’s Cable. (if purchased)
- Connect the Power Adapter to the AC Power outlet, Switch on the Power, and connect the Power Adapter's Zapper Connection Port to the Zapper's Power Connection Port.
- Switch “ON” the Zapper using the “On/Off” Switch.
- When Zapper is powered on, the Display Panel will turn on and display “Zapper Ready”.
Selecting the Zapper Modes
1. Pulsar 4 Hz
Press the “Red” Mode button once, Zapper will display Pulsar 4 Hz. To start zapping, press the “Green” button. The Blue light will blink once to indicate that the Zapper is ready to zap. The Display Panel will also display the remaining time. While Pulsar is running, if you press the “Green” start button, it will add 10 more minutes; if you press it again, it will reduce to 10 minutes. Pulsar will not run for more than 20 minutes. Zapper will automatically stop after its configured time, 6-7 minutes.
2. Pulsar 16 Hz
Press the “Red” Mode button again, and Zapper will display Pulsar 16 Hz. To start zapping, press the “Green” button. The Blue light will blink to indicate that the Zapper is Ready to zap. The Display Panel will also display the remaining time. While Pulsar is running, if you press the “Green” start button, it will add 10 more minutes; if you press it again, it will reduce the 10 minutes. Pulsar will not run for more than 20 minutes. Zapper will automatically stop after its configured time, 6-7 minutes.
3. Pulsar 100 Hz
Press the “Red” Mode button again, and Zapper will display Pulsar 100 Hz. To start zapping, press the “Green” button. The Blue light will blink to indicate that the Zapper is ready to zap. The Display Panel will also display the remaining time. While Pulsar is running, pressing the “Green” start button will add 10 more minutes; if you press it again, it will reduce the 10 min. Pulsar will not run for more than 20 minutes. Zapper will automatically stop after its configured time, 6-7 minutes.
4. Zapper 2128 Hz
Press the “Red” Mode button once more, Zapper will display Zapper 2128 Hz. To start zapping, press the “Green” button. The Blue light will blink to indicate that the Zapper is ready to zap. The Display Panel will display “Zapper 2128 Hz ON”, in Zapper mode, the remaining time will NOT be displayed. It will run for 6 min only, then Zapper will stop. Pressing the “Green” button will not add any more minutes.
5. Zapper 10 KHz
Press the “Red” Mode button once more, Zapper will display Zapper 10KHz. To start zapping, press the “Green” button. The Blue light will blink to indicate that the Zapper is ready to zap. The Display Panel will display “Zapper 10 KHz ON”, in Zapper mode, the remaining time will NOT be displayed. It will run for 6 min only, then Zapper will stop. Pressing the “Green” button will not add any more minutes.
6. Zapper 30 KHz
Press the “Red” Mode button once more. The Zapper will display Zapper 30KHz. To start zapping, press the “Green” button. The Blue light will blink to indicate that the Zapper is ready to Zap. The Display Panel will display “Zapper 30 KHz ON.” In Zapper mode, the remaining time will NOT be displayed.
7. Silver
Press the “Red” Mode button again, and the Zapper will display Silver. This is Colloidal Silver making mode, to start making colloidal silver, press the “Green” button to start making Colloidal Silver. The Display Panel will display “Silver ON”, make sure Silver Rods are connected with its adapter and it is connected to the Copper Pipe connection Port of the Zapper. While Silver mode is running, pressing the “Green” start button will add 10 more minutes; if you press it again, it will reduce the 10 min. Silver mode will not run for more than 20 minutes.
8. Back to Pulsar 4 Hz
Press the “Red” Mode button once. The Zapper will display Pulsar 4 Hz and then return to Pulsar mode.
Connecting Footplates (if purchased)
Connect using the steps below.
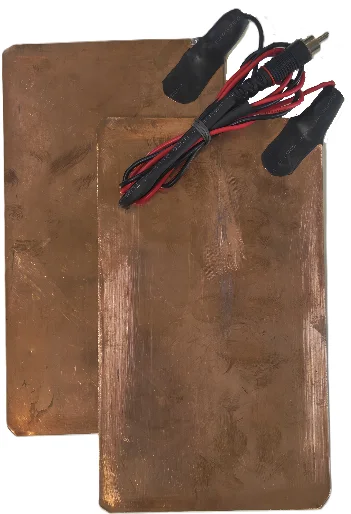
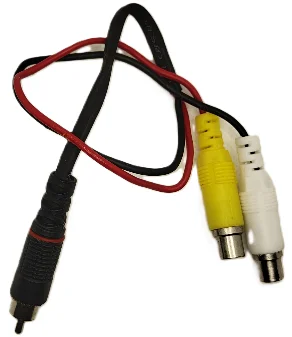
- Connect the “Y” cable's single male connector to the Zapper's Copper Pipe Connection Port.
- Connect the Copper Rods and Footplate’s cables to the two female ports on the “Y” cable.
Connecting Electrode Pads (if purchased)
You can use them as follows:
Note
The reusable carbon electrode pads are less durable than the copper rods. After some time (depending on usage), the carbon layer gets damaged, and then it requires replacement.
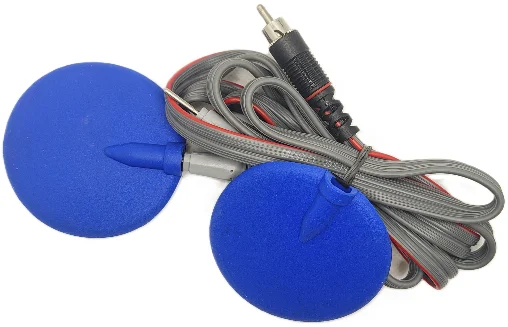
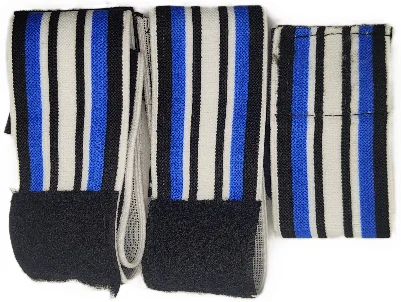
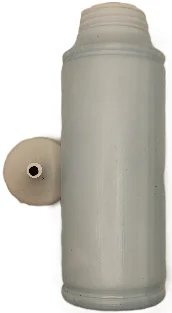
- Connect the cable's male connector to the Zapper's Copper Pipe Connection Port.
- Connect the electrode pads to the cable's opposite (female) end.
- Apply a small amount of conductive gel to each pad's black, conductive side.
- Place the gel pads firmly onto the desired location (e.g., wrist, lower forearm, or upper forearm).
- Secure the pads using the provided elastic straps to ensure consistent contact during use.
Related guides
- Laxmi Zapper Pulser User Guide — the parasite cleanse regimen, session instructions, and placement photographs.
- Laxmi Zapper vs Zenthera Zapper — a side-by-side comparison of both devices.